� Back To Index
Follow me step by step!
Here is a detailed presentation of how to create a XML script, how to load it in Demoniak3D and how to modify
some parameters in order to see their effect.
Step 1 - Open the text editor
If you already use a text editor, launch it. For those who do not have one, launch the default text editor included
in Demoniak3D by clicking the "Tools" menu and then "Text Editor".
Step 2 - Copy the XML script
Now that the text editor is open, just drag and drop the XML code below:
Step 3 - Save the XML script
Once copied into Notepad, just save the XML file by clicking [CTRL]+[S]. The following dialogbox appears:
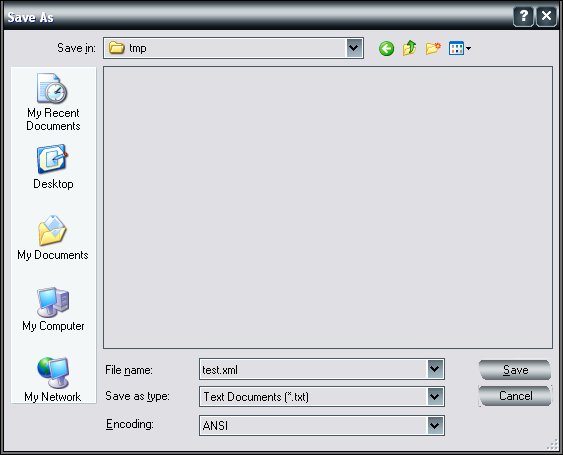
Save the script with the "test.xml" name in a directory.
Step 4 - Run the XML script
Now, go back to Demoniak3D and open the contextual menu by clicking the mouse right-button and selecting
Load New XML HyperGraph.
The following dialogbox appears:
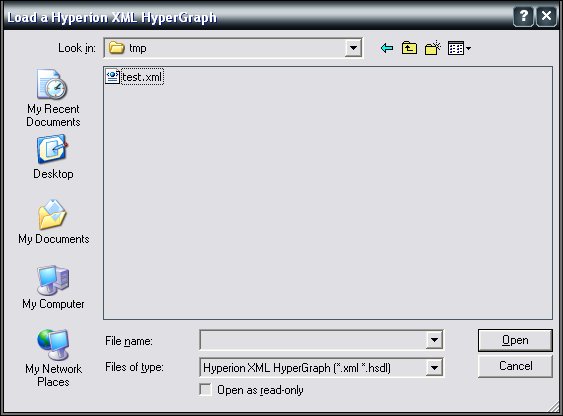
Select the
"test.xml" file and click "Open" to run the program.
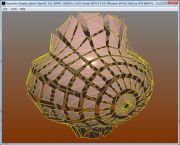
If all the previous operations have correctly been achieved, Demoniak3D should display the following result:
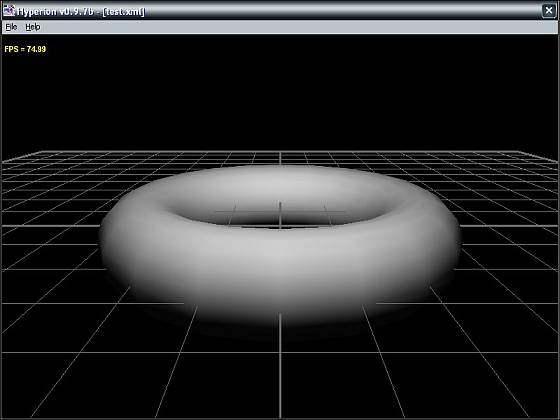
Here we are! We have developped and run our first 3D scene with Demoniak3D. Simple, isn't it?
Step 5 - Modify the XML script: the light
Now we will modify few prameters in order to observe their effect on the graphic result. Let us start with the light.
Here is the
light node:
<light name="my_light" type="OMNI" render="FALSE" >
	<position x="0.0" y="100.0" z="100.0" />
	<diffuse r="1.0" g="1.0" b="1.0" a="1.0" />
</light>
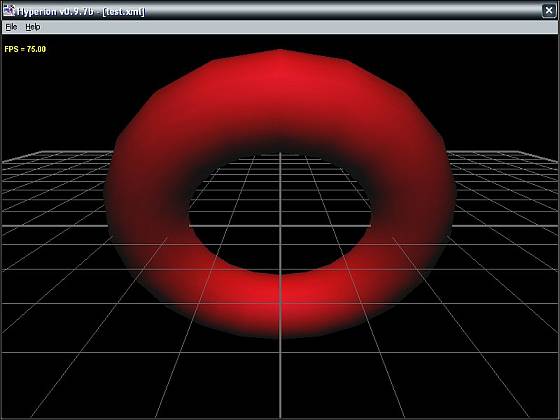
Actually, the torus is illuminated by a white light. Let us replace this white color by a red one.
To do so, the source code must be modified by replacing the following values of the "diffuse" attribute:
<diffuse r="1.0" g="1.0" b="1.0" a="1.0" />
by these new settings:
<diffuse r="1.0" g="0.0" b="0.0" a="1.0" />
A red light is just a light whose
r attribute ("r" for "red") equals "1.0" and the two other attributes
g ("g" for "green") and
b ("b" for "blue") are set to "0.0".
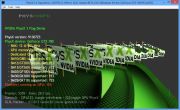
Now, save the script by clicking [CTRL]+[S] and reload the scene by calling the contextual menu with a right-button click again
and selecting
"Reload Last HyperGraph". If everything went right, you should obtain the following result:

Step 6 - Modify the XML script: the animation
Let us try now the animation. There are many ways to get an object animation in Demoniak3D.
The easiest way is to use the included Demoniak3D instructions that may directly be accessed within the XML script.
Hence, we will simply modify the
mesh node below:
<mesh name="my_torus" render="TRUE" shape_type="TORUS" lighting="TRUE"
      auto_spin="TRUE" polygon_mode="SOLID" >

	<position x="0.0" y="0.0" z="0.0" />

	<torus radius="50.0" vertex_density="20" section_radius="15.0" />
	<optimize method="VERTICES" />

	<attach_material name="mat_torus" />
	<vertices_color r="1.0" g="1.0" b="1.0" a="1.0" />
	<spin_values x="0.0" y="0.0" z="0.0" />
</mesh>
In the text editor, you have just to exchange the following instruction line in the "light" node:
<spin_values x="0.0" y="0.0" z="0.0" />
with this one:
<spin_values x="0.4" y="0.0" z="0.0" />
The 0.4 value expresses a rotation angle round the X axis of the 3D scene (this inclination angle is applied
at
each frame, which will result in a permanent incrementation leading to a continuous rotation).
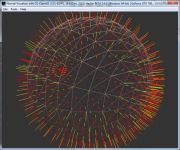
If everything went right, you should get the following result:
That's it: the torus is animated and performs a rotation around the x axis.
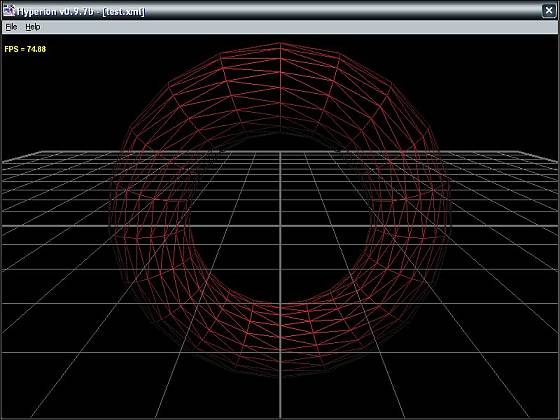
Step 7 - Modify the XML script: wireframe rendering
Sometimes it is useful to display an object in wireframe mode: this let us fully appreciate its complexity or just
to more easily observe the hidden faces. In order to display the torus in wireframe mode, just modify the
attributes of the following line:
<mesh name="my_torus" render="TRUE" shape_type="TORUS" lighting="TRUE"
      auto_spin="TRUE" polygon_mode="SOLID" >
by applying these settings:
<mesh name="my_torus" render="TRUE" shape_type="TORUS" lighting="TRUE"
      auto_spin="TRUE" polygon_mode="WIREFRAME" >
Now, save the script by clicking [CTRL]+[S] and reload the scene by calling the contextual menu with a right-button click again
and selecting
"Reload Last HyperGraph". If everything went right, you should obtain the following result:
Here we are, we have reached the end of this first quick start tutorial. Now, you have the elementary basic background
that will help you easyly understand the next tutorials. We hope it will encourage you to get to the bottom of things. It's
your turn to play!