
This article will focus on one method to build and render a Rubik’s Cube with GLSL Hacker and can be used as a basis for a more advanced animation of the Rubik’s Cube.
To create a Rubik’s Cube with GLSL Hacker, we just need a box mesh and an array that holds the parameters of each instance (only the position in this simple demo) of the box (or cube in our case).
The cube mesh will be used to render a cubelet, which is the name of one of the 26 small cubes that form the Rubik’s Cube.
We first need to know how to render a cubelet. Once this step is done, the rendering of the entire Rubik’s Cube is just a matter of drawing all cubelets at correct position.
To render a full Rubik’s Cube with correct colors, we just need to assign correct colors to the cubelet. According to wikipedia, the color of a face of the Rubik’s Cube follows this rule:
In a classic Rubik’s Cube, each of the six faces is covered by nine stickers, each of one of six solid colours: white, red, blue, orange, green, and yellow. In currently sold models, white is opposite yellow, blue is opposite green, and orange is opposite red, and the red, white and blue are arranged in that order in a clockwise arrangement.
Here is a cubelet that follows the previous rule:
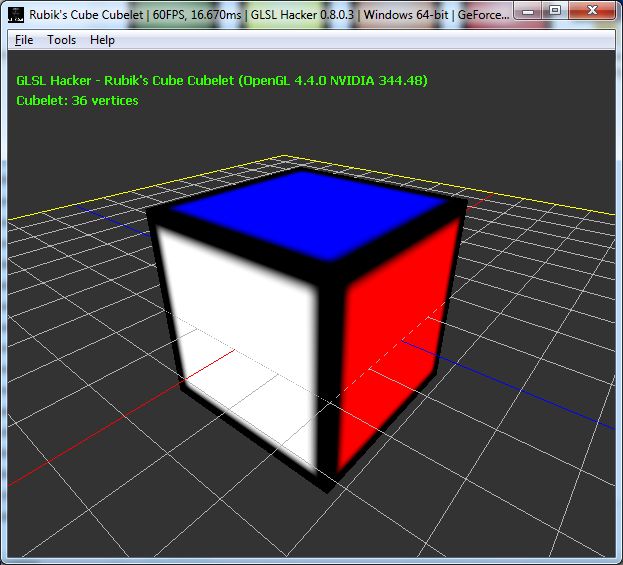
This cubelet is mesh box created with:
cube_size = 10
mesh_cube = gh_mesh.create_box(cube_size, cube_size, cube_size, 1, 1, 1)
This line of code creates a mesh cube with 36 vertices (6 vertices per face). This structure is not the most optimal structure for a cube (8 vertices are enough) but it allows to have several texture coordinates and several colors for a particular vertex. As I said, each face has 6 vertices and faces are organized like this:
face 1: vertex 1 to 6
face 2: vertex 7 to 12
face 3: vertex 13 to 18
face 4: vertex 19 to 24
face 5: vertex 25 to 30
face 6: vertex 31 to 36
To color a face with a particular color, the simplest method is to set the vertex color using gh_mesh.set_vertex_color():
local red = {x=1, y=0, z=0, w=1}
local green = {x=0, y=1, z=0, w=1}
local blue = {x=0, y=0, z=1, w=1}
local orange = {x=1, y=0.5, z=0, w=1}
local yellow = {x=1, y=1, z=0, w=1}
local white = {x=1, y=1, z=1, w=1}
for i=1, 6 do
  gh_mesh.set_vertex_color(mesh_cube, i-1, yellow.x, yellow.y, yellow.z, yellow.z)
end
for i=7, 12 do
  gh_mesh.set_vertex_color(mesh_cube, i-1, white.x, white.y, white.z, white.z)
end
for i=13, 18 do
  gh_mesh.set_vertex_color(mesh_cube, i-1, blue.x, blue.y, blue.z, blue.z)
end
for i=19, 24 do
  gh_mesh.set_vertex_color(mesh_cube, i-1, green.x, green.y, green.z, green.z)
end
for i=25, 30 do
  gh_mesh.set_vertex_color(mesh_cube, i-1, red.x, red.y, red.z, red.z)
end
for i=31, 36 do
  gh_mesh.set_vertex_color(mesh_cube, i-1, orange.x, orange.y, orange.z, orange.z)
end
To get black edges, we just use this texture we modulate with the vertex color in the pixel shader:

The GLSL program used to render the cube:
OK, now we have a cubelet. Let’s see how to draw the complete Rubik’s Cube. The following piece of code fills up the instance array with position for each cube instance:
all_cubes = {}
between2cubes = 0.05
cubes_index = 0

for k=1, 3 do
  local py = (-cube_size-between2cubes) + (k-1)*(cube_size+between2cubes)
  for j=1, 3 do
    local pz = (-cube_size-between2cubes) + (j-1)*(cube_size+between2cubes)
    for i=1, 3 do
      local px = (-cube_size-between2cubes) + (i-1)*(cube_size+between2cubes)
      local cubelet = {x=px, y=py, z=pz}
      cubes_index = cubes_index+1
      all_cubes[cubes_index] = cubelet
    end
  end
end
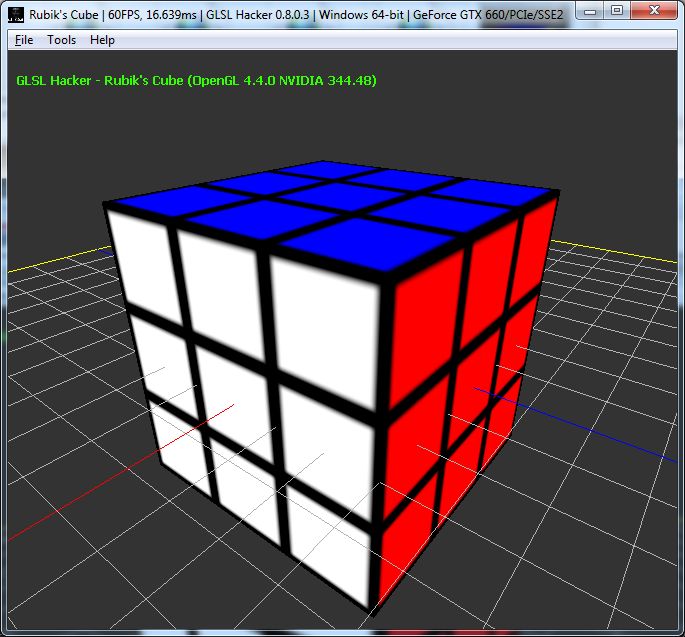
To render the Rubik’s Cube, just loop over the all_cubes array and render the mesh cube with instance parameters:
gh_camera.bind(camera)
gh_renderer.clear_color_depth_buffers(0.2, 0.2, 0.2, 1.0, 1.0)

gh_gpu_program.bind(texture_prog)

gh_texture.bind(tex01, 0)

for i=1, cubes_index do
  local cubelet = all_cubes[i]
  gh_object.set_position(mesh_cube, cubelet.x, cubelet.y, cubelet.z)
  gh_object.render(mesh_cube)
end
We have a last thing to see: cubelet rotation. The rotation of a cubelet is done with Euler’s angles. If we execute the following code:
for i=1, cubes_index do
  local cubelet = all_cubes[i]
  gh_object.set_position(mesh_cube, cubelet.x, cubelet.y, cubelet.z)
    if (i>18 and i<29) then
    gh_object.set_euler_angles(mesh_cube, 0, -elapsed_time*50, 0)
  else
    gh_object.set_euler_angles(mesh_cube, 0, 0, 0)
  end
  gh_object.render(mesh_cube)
end
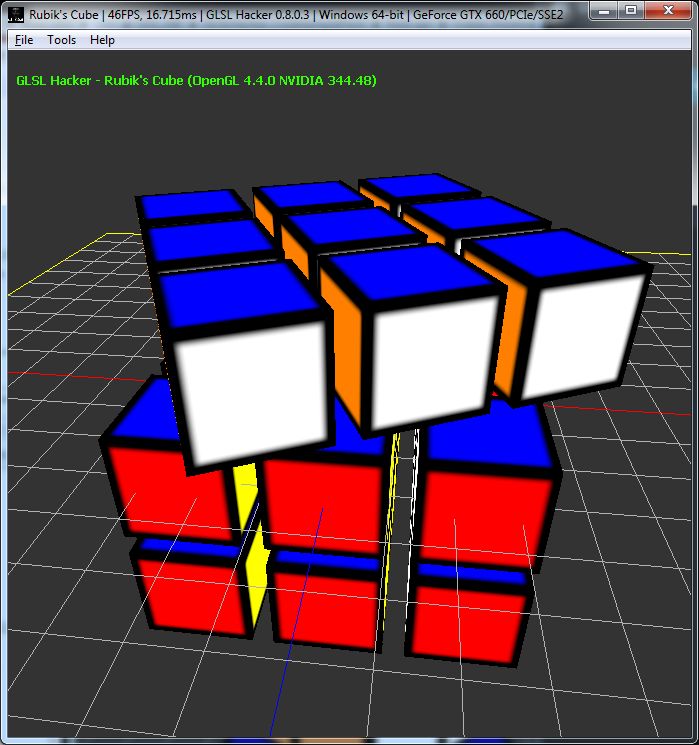
we will rotate all cubelets of the upper part of the Rubik's Cube:
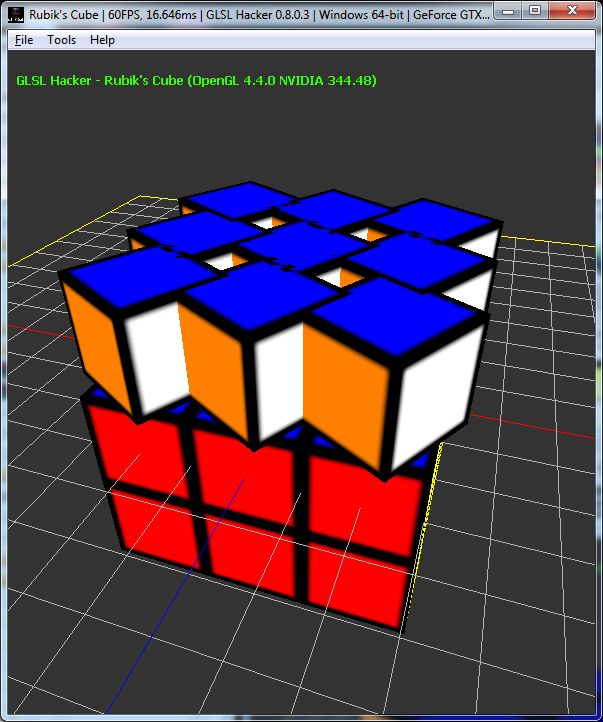
Obviously, it's not the expected rotation. Why do we have this kind of rotation? Because of the order of internal transformation that build the final transformation matrix. By default in GLSL Hacker, the order of transformation is:
Transform = Translation * Rotation * Scale
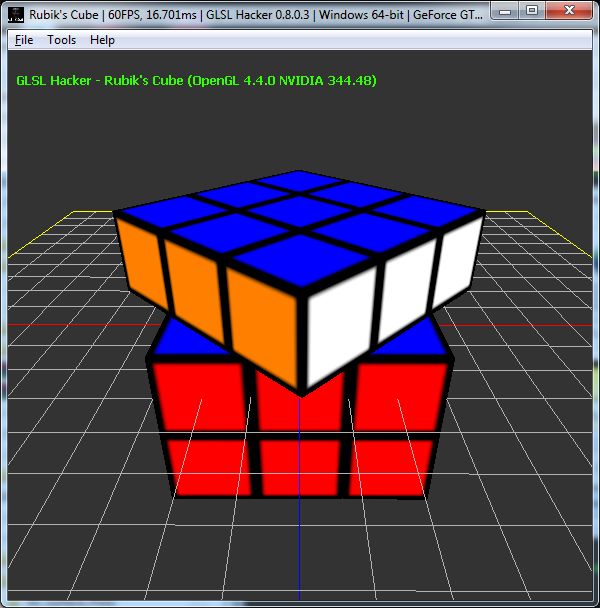
The default transformation order is not suited to rotate the Rubik's Cube. We actually need another transformation order defined by:
Transform = Rotation * Translation * Scale
GLSL Hacker 0.8.0.3 introduces a new function that allows to change the transformation order:
-- local transform_order = 0 -- default: Translation * Rotation * Scale
local transform_order = 1 -- Rotation * Translation * Scale
gh_object.set_transform_order(mesh_cube, transform_order)
With the new transformation order, we have the correct rotation:
If we add more space between each cubelet (between2cubes = 2.0):
You can the Rubik's Cube demo in the host_api/RubikCube/ folder of the code sample pack.
To run a demo, just load it in GLSL Hacker and hack the demo by editing its source code with your favorite text editor. That’s all.