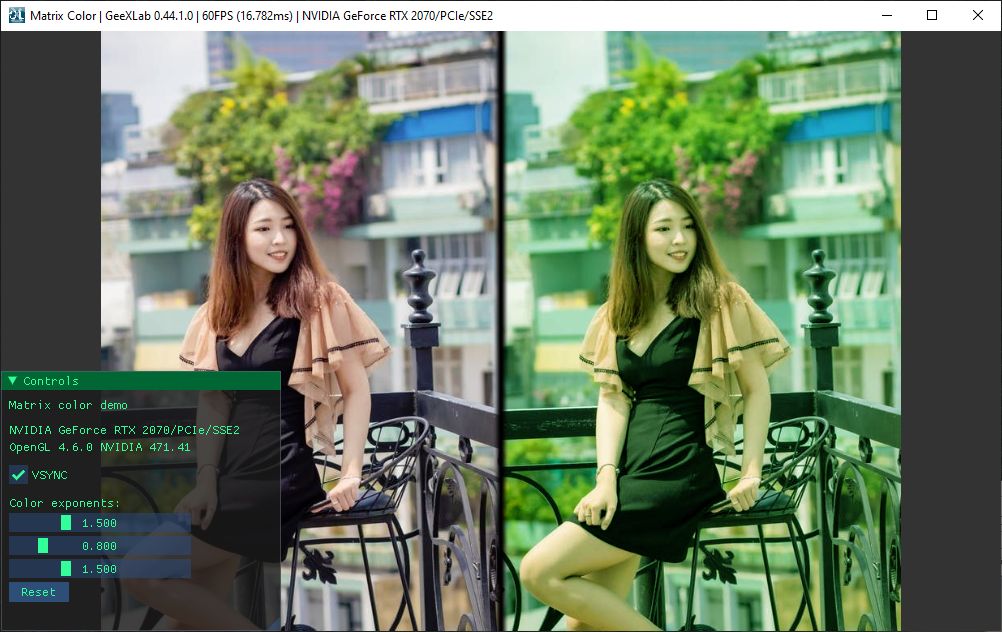
Latest News 1GeeXLab 0.58 released for Windows and Linux2024-04-03 | GeeXLab2GeeXLab 0.57 released for Windows x32/x64 and Linux x642024-02-13 | GeeXLab3YAFFplayer 0.8 Released2023-12-03 | YAFFplayer4Shadertoy Demopack v23.12.32023-12-03 | Demo5GeeXLab 0.56 released (*** UPDATED: v0.56.2 + Linux 32-bit ***)2023-12-03 | GeeXLab6YAFFplayer 0.7 Released2023-11-22 | YAFFplayer7GeeXLab 0.55 released2023-11-21 | GeeXLab8GeeXLab 0.54 released (*** UPDATED: v0.54.1.0 ***)2023-10-04 | GeeXLab9GeeXLab 0.52 released2023-05-26 | GeeXLab10Shadertoy Demopack v23.3.282023-03-28 | Demo11(Demo) Knob and Toggle Widgets (Dear ImGui)2023-03-27 | Demo12GeeXLab 0.51 Released (*** Updated: v0.51.4.0 ***)2023-03-27 | GeeXLab13Flower Tweet Shader2023-01-11 | Demo14QB 0.2.0 Rubik’s Cube Simulator Released for Windows and Linux2023-01-11 | Games15GeeXLab 0.49 Released for Windows and Linux (Updated: v0.49.3)2022-11-30 | GeeXLab16(Video Game) QB: Rubik’s Cube Simulator (2x2x2 and 3x3x3)2022-08-21 | Games17Graffiti Shader2022-08-19 | Demo18(Tested) Raspberry Pi 4 and Vulkan: It Works!2022-08-18 | GeeXLab, Vulkan19How to Render 3D Models with Transparent Surfaces2022-08-16 | Tutorials20Shadertoy Demopack v22.8.162022-08-16 | Demo1 2 3 4 5 6 … 14 Next » Latest Demos Shadertoy Demopack v23.12.3 Knob and Toggle Widgets Flower Tweet Shader Graffiti Shader How to Render 3D Models with Transparent Surfaces Featured Posts (Game) QB: Rubik’s Cube Simulator (Game) Imbricker: Tetris clone Jellyfish Tweet Shader Vulkan Ray Tracing In GeeXLab (Game) the Classic Snake Game Revisited QR Code Shaders Shader Tweak: Bonzomatic like Style Python 3 and OpenCV: Face Detection Box2D Physics Code Samples Bullet Physics Collisions Meshlets and Mesh Shaders (Vulkan) Matrix Greenish Color Formula